
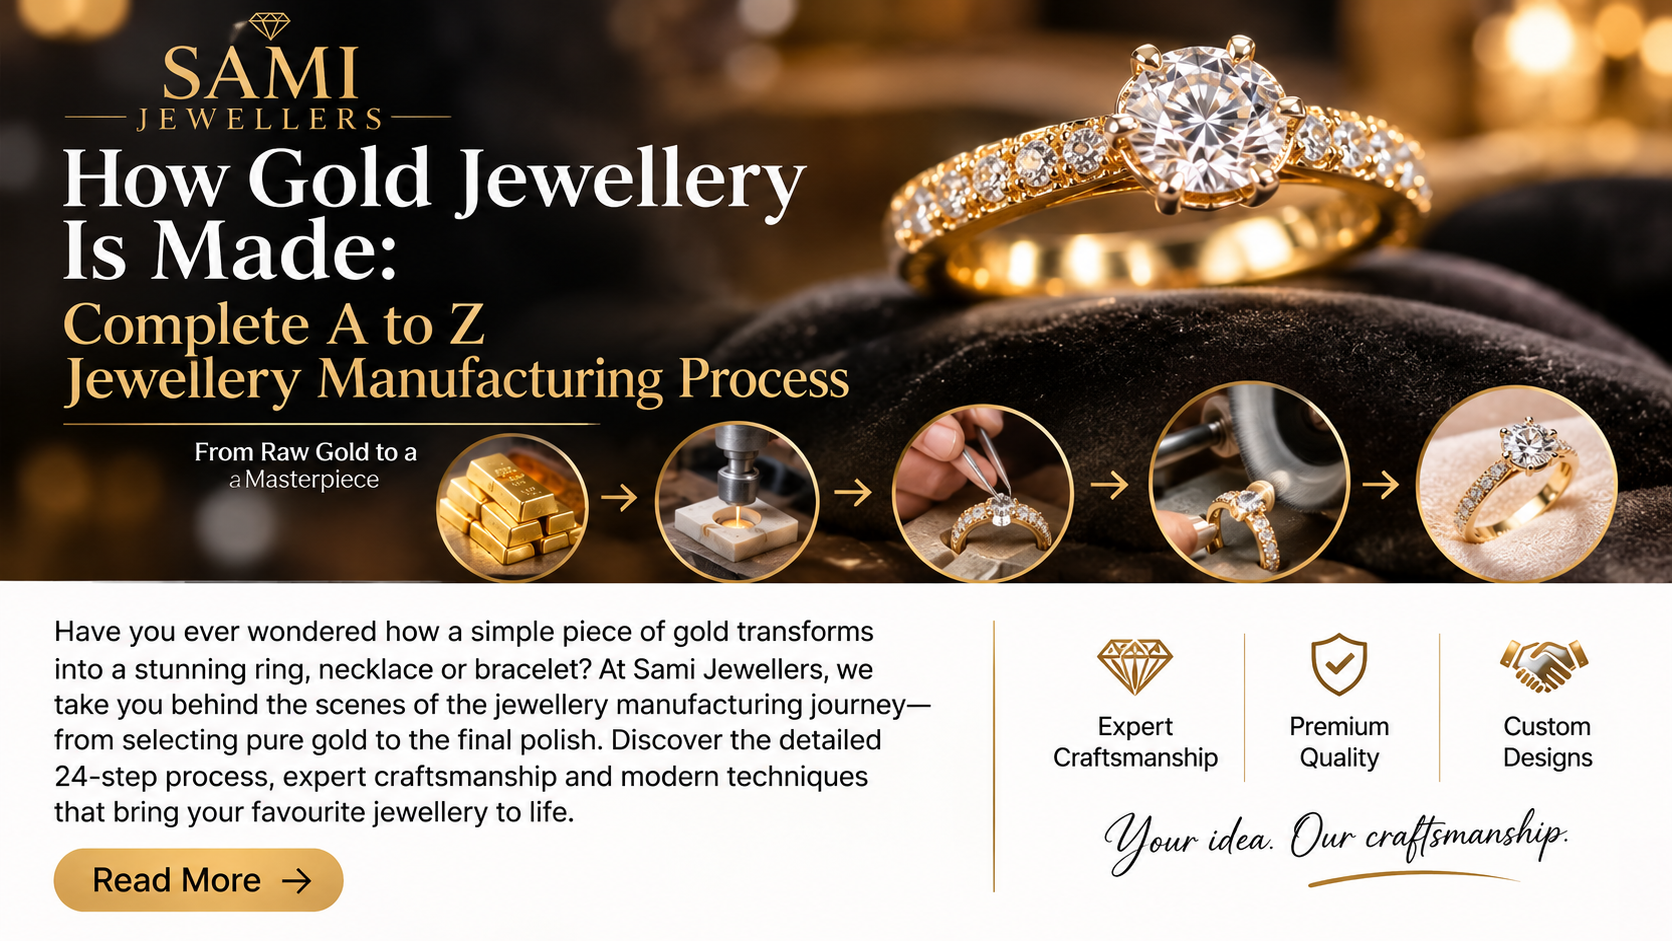
Complete A to Z Jewellery Manufacturing Process:
Have you ever wondered how raw gold transforms into a beautiful ring, necklace, bracelet or pair of earrings? Behind every finished jewellery piece is a detailed process involving skilled goldsmiths, modern technology, precision designing and careful craftsmanship.
At Sami Jewellers, we believe customers should understand the work and expertise involved in creating their jewellery. Whether you are purchasing a ready-made design or ordering custom jewellery, this complete guide explains the manufacturing journey from raw gold to the finished product.
Table of Contents
- 1. Understanding Gold Purity and Karat
- 2. Selecting Gold and Raw Materials
- 3. Jewellery Design Concept
- 4. Hand Drawing and Technical Sketching
- 5. Computer-Aided Jewellery Designing (CAD)
- 6. 3D Rendering and Customer Approval
- 7. 3D Printing or Wax Model Preparation
- 8. Preparing the Casting Mould
- 9. Melting the Gold
- 10. Gold Casting
- 11. Removing Sprues and Cleaning
- 12. Filing and Shaping
- 13. Soldering and Assembly
- 14. Stone Selection and Matching
- 15. Preparing the Stone Settings
- 16. Gemstone Setting
- 17. Initial Polishing and Surface Preparation
- 18. Final Polishing and Buffing
- 19. Rhodium Plating and Surface Treatments
- 20. Cleaning and Ultrasonic Treatment
- 21. Quality Inspection
- 22. Final Weight Measurement
- 23. Jewellery Photography and Presentation
- 24. Packaging and Delivery
- Traditional vs Modern Jewellery Manufacturing
- How Long Does Jewellery Manufacturing Take?
- Frequently Asked Questions
- Create Custom Jewellery with Sami Jewellers
1. Understanding Gold Purity and Karat
Before manufacturing begins, the first step is selecting the appropriate gold purity. Pure gold is naturally soft, so it is often mixed with other metals to improve its strength and working properties.
- 24K Gold: Approximately 99.9% pure gold.
- 22K Gold: 91.67% pure gold.
- 21K Gold: 87.5% pure gold.
- 18K Gold: 75% pure gold.
- 14K Gold: 58.33% pure gold.
For example, 21K gold contains 87.5% pure gold and 12.5% other alloy metals. The selected purity affects jewellery colour, hardness, durability and manufacturing characteristics.
2. Selecting Gold and Raw Materials
Once the required purity is decided, the gold material is prepared. Depending on the design and production method, a jeweller may use gold bars, gold grains, recycled gold from existing jewellery or a prepared gold alloy.
Other materials may include silver, copper, alloy metals, diamonds and coloured gemstones. The required quantity depends on the jewellery design, dimensions, thickness and customer’s preferred budget.
3. Jewellery Design Concept
Every beautiful jewellery piece begins with an idea. A customer may bring a reference photograph, an existing jewellery piece, a sketch or simply describe the design they have in mind.
The designer considers appearance, dimensions, gold weight, gemstone placement, comfort, structural strength and manufacturing feasibility. The initial concept is then developed into a practical jewellery design.
4. Hand Drawing and Technical Sketching
Before production, the jewellery design can be converted into technical sketches. These drawings help establish proportions, measurements and important design details.
For a ring, the technical details may include ring size, band width, band thickness, stone diameter, setting height and prong dimensions. Accurate measurements help reduce manufacturing errors.
5. Computer-Aided Jewellery Designing (CAD)
Modern jewellery manufacturing often uses specialised 3D computer-aided design software. Professional jewellery designers use applications such as Rhino, MatrixGold, ZBrush and other 3D modelling tools to create detailed digital jewellery models.
A 3D model allows the jeweller and customer to examine the design before physical manufacturing begins.
- Accurate dimensions and proportions.
- Gold weight estimation.
- Gemstone positioning.
- Prong and setting design.
- Structural inspection.
- Design modifications.
- Preparation for 3D printing.
CAD designing makes it easier to modify complex designs and check important measurements before production.
6. 3D Rendering and Customer Approval
After completing the 3D model, a realistic rendering can be created using software such as KeyShot or V-Ray. Rendering produces a visual preview of the jewellery, including gold surfaces, diamonds and coloured gemstones.
Customers can review the design from different angles and request modifications before manufacturing begins. A rendering is a visual representation, however, and does not guarantee the exact final colour, weight or appearance.
7. 3D Printing or Wax Model Preparation
Once the design is approved, it can be converted into a physical pattern for manufacturing. There are several ways to prepare this pattern.
- 3D Wax Printing: A specialised printer creates a wax pattern from the digital jewellery model.
- Resin Printing: Suitable castable resin is used to produce a pattern for investment casting.
- Traditional Wax Carving: An experienced craftsman manually carves the jewellery pattern from wax.
The chosen method depends on the jewellery design, workshop facilities and production requirements.
8. Preparing the Casting Mould
In the lost-wax casting process, the wax or castable resin pattern is attached to a sprue system and placed inside a casting flask.
Investment material is mixed and poured around the pattern. Once the material hardens, the flask is heated according to the casting process. The wax or suitable resin is removed during burnout, leaving a cavity inside the mould that represents the jewellery design.
9. Melting the Gold
The prepared gold alloy is heated in a suitable crucible until it becomes molten. Temperature and handling requirements depend on the specific gold alloy and casting method.
Experienced goldsmiths carefully manage this stage to minimise contamination and unwanted material loss.
10. Gold Casting
Molten gold is introduced into the prepared mould using a suitable casting machine or casting technique. The liquid metal fills the cavity and takes the shape of the original jewellery model.
After cooling, the investment material is removed, revealing the rough jewellery casting. At this stage, the jewellery still requires considerable finishing work.
11. Removing Sprues and Cleaning
The rough casting is separated from its sprue system. The goldsmith removes excess material and cleans the jewellery to remove investment residue and unwanted casting material.
The initial structure is also inspected for visible casting defects before the next manufacturing stage.
12. Filing and Shaping
The jewellery is carefully filed and shaped using specialised hand tools. The goldsmith removes unwanted material, smooths rough surfaces and corrects minor irregularities.
This stage requires experience because excessive filing can change the dimensions and reduce the intended gold weight.
13. Soldering and Assembly
Some jewellery designs consist of multiple components that need to be joined together. Examples include multi-part earrings, chain links, bracelet components, necklace settings and decorative ring elements.
The goldsmith uses suitable soldering techniques to join these components and ensure that the joints are secure and properly aligned.
14. Stone Selection and Matching
For gemstone jewellery, selecting the correct stones is an important part of manufacturing. Depending on the design, stones may include diamonds, blue sapphires, rubies, emeralds, amethyst, topaz and other precious or semi-precious gemstones.
Stones are selected according to their dimensions, shape, colour, quality and suitability for the design. Their measurements must match the prepared jewellery settings.
15. Preparing the Stone Settings
The goldsmith or stone-setting specialist prepares the jewellery to receive the gemstones. Common gemstone-setting styles include: